Deleted
Deleted Member
Posts: 0
|
Post by Deleted on May 19, 2017 20:21:34 GMT
Looking at that once you have the remains gone a pair of hex nipples and a union would just about be the right length to fit. You may need a barrel nipple if 2 hex nipples are just short.
Using a union means you can do it all up insitu.
I've been using gas PTFE tape for some time now, especially on > 1 1/4" screwthreads.
|
|
|
|
Post by JohnV on May 19, 2017 21:04:06 GMT
Thanks Gazza ..... I think I will still reduce down to 25mm speedfit ...... The guys doing the work at the time had big ship thinking .... can't see that there is any need for inch and a quarter for domestic water supply. I reckon 25mm should be adequate for the supply/balance pipeline. It might slow down the transfer a bit but hell, the number of times I am likely to be having an industrial size supply feeding water to me is likely to be counted on the fingers of one foot  |
|
|
|
Post by peterboat on May 19, 2017 22:26:16 GMT
Well I was like the little Dutch boy and the dyke hand over the leak but nothing to stop it with to hand!! buggered or what? Bloody hell Peter ....... but I'm sorry, I couldn't help but laugh at the mental picture !!! (It reminded me of accidentally chiseling through a central heating pipe ...... black water gushing out .... a thumb over the hole but my tool box JUST out of reach !!!) I'm glad you found a temporary solution, it could have been very nasty if you hadn't heard it in time !!! John even my fone was out of reach to fone a friend!! I have decided that I am going to weight the boat until the offending hole is out of the water and I can repair it with fibreglass I know it makes sense  After the event I laughed myself and called myself a few choice names it helps honestly |
|
|
|
Post by JohnV on May 20, 2017 11:51:18 GMT
As the sun was shining this morning I got the welder out to finish welding up the mountings for my long gangway on the stbd side. Of course it was then necessary to test it  Nearly there ..... fairly hard work to rig but manageable, however I need to rethink how the top is fitted to the pivot bar as at the moment there is much too much play ..... fairly disconcerting when it jumps a bit  Still the principle seems to be ok ..... it just needs fine tuning  SAM_0694 SAM_0694 by mudlarker2, on Flickr |
|
|
|
Post by smileypete on May 20, 2017 19:01:59 GMT
Thanks Gazza ..... I think I will still reduce down to 25mm speedfit ...... The guys doing the work at the time had big ship thinking .... can't see that there is any need for inch and a quarter for domestic water supply. I reckon 25mm should be adequate for the supply/balance pipeline. It might slow down the transfer a bit but hell, the number of times I am likely to be having an industrial size supply feeding water to me is likely to be counted on the fingers of one foot Looked like hot dip galvanized, might have been chosen for compatibility if the tank interior is galvanised. The tank on my springer is galvanized AFAIK and has a 10" stub of what must be similar dia pipe with the supply valve fitted at the end. I s'pse the mfrs routinely dealt with much bigger tanks so used large pipe sizes as standard. Dug up a linky: www.robuild.co.uk/Corrosion-plumbing.htm |
|
|
|
Post by JohnV on May 21, 2017 7:14:45 GMT
Thanks Pete, The tanks are mild steel (6mm) with about 4 coats of watertank black, fabricated on board. 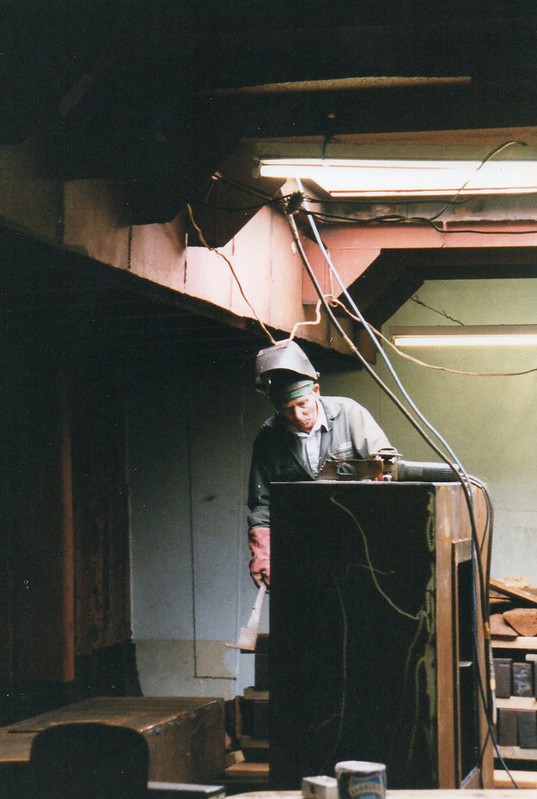 img466 img466 by mudlarker2, on Flickr Success with the removal of the nipple !!! With the aid of a smaller set of borrowed Stilsons I was able to unscrew it from the valve  It was a bit of a buxxer as you could only move it a fraction of a turn at a time. It was also a job for a fit young double jointed midget, not for one who is overaged and overweight. The nipple had not been screwed into the valve for more than about 4 turns and had originally been sealed with pipe compound. As a result the deeper section of the thread is covered in thick fur. I would like to clean this (if I can get a tap into it). I will have a go later. I have been hunting through my plumbing spares but I don't have any inch and a quarter reducers so finishing it all will have to wait a bit longer ..... At least I'm progressing |
|
|
|
Post by JohnV on Jun 8, 2017 8:05:55 GMT
Well it's taken a couple of weeks to get round to it but I have finally re-connected my starboard water tank to the system. It took about 4 days all told, the access was extremely tight  SAM_0688 SAM_0688 by mudlarker2, on Flickr I found it totally impossible to fit the new parts through the existing access (it was only designed to be big enough to turn the valve on and off) and rather than start removing the whole cabinet I decided to cut the 4 x 2 floor beams and associated cabinet flooring supports (that section isn't actually doing anything it was just the continuation of the beams)  SAM_0706 SAM_0706 by mudlarker2, on Flickr This was a task on it's own, as one side I had to cut using my left hand and both while lying full length on the floor and working at an odd angle. Also only using about 3" of the saw blade as it would then hit the bottom plate. With this removed I was then able to apply a bit of leverage to the valve and got about another eighth turn tightening up the thread on the tank. This also gave me a little more room for the new adaptors and pipework  SAM_0707 SAM_0707 by mudlarker2, on Flickr As I was having to do plumbing work I decided to put in some changes and improvements that I have had in mind for some time. I have moved the pump from it's original position under a hatch in the galley floor to the cupboard that contains (amongst the junk) the calorifier that feeds the galley taps/washing machine. It is much more convenient as you can view it easily and reach all the bits without as much effort. I also installed the sensor for the water tank level gauge (the one that canaldweller gave the link to a while back) Photos of that bit later when I have finished clipping everything and tidying up |
|
|
|
Post by faffer on Jun 8, 2017 15:40:42 GMT
Dont you just love them testing jobs, reason i jacked in messing with cars.
|
|


 After the event I laughed myself and called myself a few choice names it helps honestly


